The Year of the Katy

One year.

365 days.


366 days ago, there was no Katy in the house. 

365 days ago, there was.

This was the first picture I saw of her:
(From Fred at One Bark at a Time, now at Pound Dogs)

And I figured someone would snap her right up.

Four weeks later, she was still at the shelter, so Kip and I made the drive to Toronto to get her and bring her home.

Since then, they've spent most of their time like this:
And this:
But by far, this is my favourite picture of them:
I think they like each other :)

She loves her "Grandpa":
Wants to help him with the renos:
And isn't shy about reminding him which dog he should pay attention to:


Katy has come so far in a year.


She has lost over 5 pounds. 

She is getting better coping with strangers, and her default is now to come sit by me if she is feeling stressed.  Good girl!


She knows how to sit, how to go "over" (jump over something) and how to go "hup" (jump up on something).  She sits to get her collar on and off, and for treats, even from strangers.

I can now brush her entire coat in one sitting.  And I can cut all her nails at the same time.  This, from the dog that would completely meltdown if I tried to cut two nails in the same session when I first got her.  She still doesn't like any sort of grooming, but she tolerates it, and that's all I ask from any dog. 


And best of all, she has learned to play.  She'll play with Kip, and even bring me toys once in a while.  My favourite is when she does a fly-by, and steals Kip's toy from him, and then the grand game of keep-away is on!  There is no greater satisfaction than seeing a dog that didn't know how to play, learning to.  And enjoying it :)

She is my girl, and she is a GOOD girl.

Happy Anniversary, Katydid!

Dead sexy

I groom both dogs myself, and do an okay job, if I do say so myself.  But, since it's winter and -eleventymillion degrees outside these days, I let them get a bit scruffy.

I realized today that Kip has the chest hair of a 70s porn star.
I do not.


Not that I've ever seen a 70s porn star, of course.


Or a porn star from any other decade either.


Dead sexy...
I'm ready for my close-up.... oops, wrong genre...

Sorry Katy, but you just look like Yoda.  A cute, furry little Yoda...

Hungry, I am.

Set Screwed

Thursday was pretty much my worst day EVER.  It actually started on Wednesday, the day of the blizzard-that-wasn't.  Although not as bad as predicted, it did leave us some snow, freezing rain, snow and some more freezing rain, followed by snow.  I had the day off work (yippee!), and, so as to make Thursday morning easier, went out to shovel the driveway and clear off the car after the snow stopped.  Of course, after I finished shovelling out the end of the driveway (always the worst part), the plow went by.  So I shovelled out the end of the driveway, again.  But, driveway was clear, car was chipped out of it's ice casing - all ready for Thursday morning.


We got more freezing rain overnight, so I had to chip out the car.  Again.  As I was doing that the plow went by.  Again.  So I had to shovel out the end of the driveway.  Again.  

And the car heater quit, taking the defrost with it.  I think they went to vacation somewhere warm.  Wimps.

I finally get ready to leave - and remember it's garbage day.  Go back inside, gather everything up, put it at the curb, get back in the car, and turn on the windshield wipers to clear off the bits left behind by the scraping.

Which is when the driver's side wiper flew off into the snowbank.


I seriously think I deserve a medal for not giving up, and crawling back into bed for the day.
 

You'd think, after a day like that, I'd know better than to do anything in the house, right?? 


I decided to install the towel bars and toilet paper holders in the bathroom - easy job, and one I've done before.  You have to screw a "bracket" into the wall first, then the visible part attaches to the bracket with a really small set screw.  The sets come with plastic anchors, and the instructions tell you which size hole to drill to install the anchors first.  

The instructions are wrong. 

I figure out what size drill I actually need, and install the hand towel ring with no further problems.  The bath towel bar is on the same wall, and I want them to be at the same height, so I measure to make sure, install the bar with no problems, and then realize I'm a 1/2" out.


No one will realize, right?  Well, except for me.  And anyone that reads this blog, then visits my house.  Or anyone that looks closely.  Or, actually, anyone who ever goes in that bathroom.

Still not getting the hint that I should stop while I'm behind ahead, I start on the toilet paper holder.  Which has a completely different bracket.  The other ones had a handy little "UP" on them, so you know which way to install them.  This one had no "UP", and instead of anchors, came with self-anchoring screws.  Phillips-head self-anchoring screws (I dare you to ask any Canadian about their thoughts on Phillips-head screws, and why the rest of the world hasn't decided to go with the MUCH superior Robertson.  Just make sure to stand back, as the rant may get a little loud).  

Now, all the other brackets were installed with the two screws side-by-side (as opposed to up-and-down), and since they are all from the same manufacturer, I installed this bracket in the same manner.  I then attached the main part, and, using the really small hex key, proceeded to turn the really small set screw.  And turned, and turned, and turned, and turned, and turned.  Until the really small set screw screwed it's way right through to the other side and fell on the floor.  Not getting the hint, I proceed to do THE EXACT SAME THING.  Oddly enough, with the EXACT SAME RESULT.  


Finally realizing the bracket is in the wrong position, I attempt to take out the Phillips-head self-anchoring screws.  That, because they are Phillips-head and cheaply made, are now stripped, and impossible to remove.  

FYI, a hammer does NOT help remove stripped screws, but a bit pf touch-up paint, and no one will realize you ever tried :)  

Dad, as per normal, came over on Friday and saved the day.

 I did manage to get the lampshades up without any further problems.  At least something went right :)


And just a few more pictures on the bathroom:

 Properly installed toilet paper holder.

I call this one "Towel bar, with schnauzer for size".
 
 "Mom, why are you standing in the shower fully clothed?"

"No toys, no food, I'm outta here"

And the shower.  Yes, the towel bar is across the room from the shower, but it really is the only logical place to put it, as there will be a cabinet (for storage) going on the wall beside the shower, and putting it on the same wall as the toilet paper holder would mean closing the shower door to get to the towel.  The room is small enough that this location works.

But next time?  I'm staying in bed.

4x4 potato soup

I have a confession to make:  I rarely follow recipes, especially for soup.  I just kinda make soup, and sometimes it turns out, and sometimes not :)

I did look for a recipe the first* time I made this soup, but don't bother to use it since, well, it's soup!  But this is generally how I make my potato soup - a quick, easy, filling and cheap meal and great for a warm lunch on a winter's day.

Ingredients:
1/4 pound of bacon (or more, or less), chopped
onion, diced (about 1/2 a medium-sized onion, or more, or less)
1 large stalk of celery, diced
4 cups of chicken or vegetable stock
4 cups cubed potatoes
1/8 - 1/4 teaspoon chipotle chili powder
thyme, to taste (probably around 1/4 - 1/2 a teaspoon, I just shake from the jar)
pepper, to taste

In a heavy-bottom pot (not non-stick), cook the bacon over medium-low heat until crispy (but not too crispy, because I don't like too-crispy bacon).  Move the cooked bacon to a small bowl with a slotted spoon, and pour most of the fat into another container (discard or keep, as per your needs).  Add the onion and celery to the pot, and cook until soft, scraping up the bacony goodness from the bottom of the pot as you go along (this is why you shouldn't use non-stick - you loose all the bacony goodness from the bottom of the pot, and who wants that to happen??).  Add a bit of the stock, and scrape up whatever is still on the bottom of the pot.  By the way, I always use a wooden spoon for this.  Add the rest of the stock, the potatoes and the chili powder, thyme and pepper.  Cook (still over medium-low heat)  until the potatoes are soft.  Serve, sprinkled with the reserved bacon bits.  Makes 4 servings.


So, why 4x4?  well, it's 4 cups of stock, 4 cups of potatoes and makes 4 servings :)  It's easily scale-able, so if you have more people to feed (or are very hungry), toss in more both stock and potatoes, and some more bacon.  Have carrots?  Chop them up, and add along with the onions and celery (the classic mirepoix).

Thyme is my go-to herb, and along with celery, I find it adds a lot of flavour to almost any "liquid" dish.  The chipotle chili powder adds a touch of smokey heat, but not enough to even identify for most people.  Feel free to play around with the seasonings.  I don't add salt, since the bacon tends to be salty enough for my taste.

Variation:

I love corn chowder, but I don't often cook with dairy, since I tend to freeze a lot of what I make, and dairy doesn't always freeze well.  So, this is my dairy-free version of corn chowder :)

Along with the potatoes and stock, add 1-2 cups of leftover or frozen corn (I tend to use what ever I have on hand, but make sure you reserve at least 1 cup to add later).  Cook until the potatoes are soft.  Using a blender, immersion blender, or food processor, blend the soup until smooth.  Add the rest of the corn, some finely diced jalapeno peppers, and heat through,  Again, serve sprinkled with the reserved bacon.  The potatoes thicken the soup nicely - at least for my tastes!


___________________________________________________
*after I saw the recipe, I realized I've made it for years, as the base for my corn chowder.  Duh.

I'm stronger than I thought...

... or as Dad put it, I'm not as smart as I thought ;)

Flour was on sale, so I went yesterday to pick up two for me, and one for Mom.  They came two wrapped together, so the stock guy (who amazingly found some in the back after I asked for a rain-check upon being told by the store manager that they were out... sigh) simply put a bundle of two in my cart plus one single.  I left the two in my cart through the checkout (paid for, of course!), and went to put everything in my trunk.

As I was trying to pick up the two-pack, from the bottom of the cart, and heave it into the trunk, I was regretting giving up my gym membership, since I was obviously much weaker than I thought - after all, lifting 20 pounds should be a relatively simple task, no?

Except when that 20 pounds is actually 20 KILOGRAMS.  Yeah, lugging 44 pounds of flour is a bit more challenging than 20 pounds!

So, I'm not as weak as I feared, and the flour was an even better deal!

But what the @*#& am I going to do with 44 pounds of flour?????

Plumbing is the biggest time suck...

... actually, plumbing just sucks.  Period.

Poor Dad.

He's been working on the upstairs plumbing for what seems like ages already, and hit a major snag today.  See the pretty sink with the pretty pretty taps?
The taps that it took us literally hours yesterday to assemble?  Yes, those taps.  They took up so much time (plumbing = time suck, really), that Dad didn't get them actually hooked up yesterday, so he came back today to finish them off.  Small problem...

On Off


Off On

Besides the fact the one little thingy is missing from the tap, they are actually in the wrong position.  "Off" and "on" have been swapped, and although Dad tried to convince me otherwise, I really don't think they'll work this way.

Which means the ENTIRE sink has to be disassembled to fix it.

Even dog therapy doesn't fix a day like today.  I did buy him really good chocolate, so hopefully that will help :)

At least the toilet is happy.  No really, it's very happy, see?

It is a pretty toilet...
 ...with a pretty pretty handle.  And, AFAIK, it works fines. (Here's hoping it's not hooked up to the hot water by mistake)

And look what came to live with me today!!


Let me introduce my new hot water heater.  It also isn't hooked up yet.  Which seems to be the trend with plumbing in this house...

$500 Challenge - February Edition

Yes, I know it's not February yet - but  I couldn't wait for this one!  This month's purchases were the ones I was most looking forward to... mainly because I'm a coffee snob (and some would say addict!!).

I make my coffee in an unusual manner, which came about due to my sister, who, many many many year ago, gave me this:


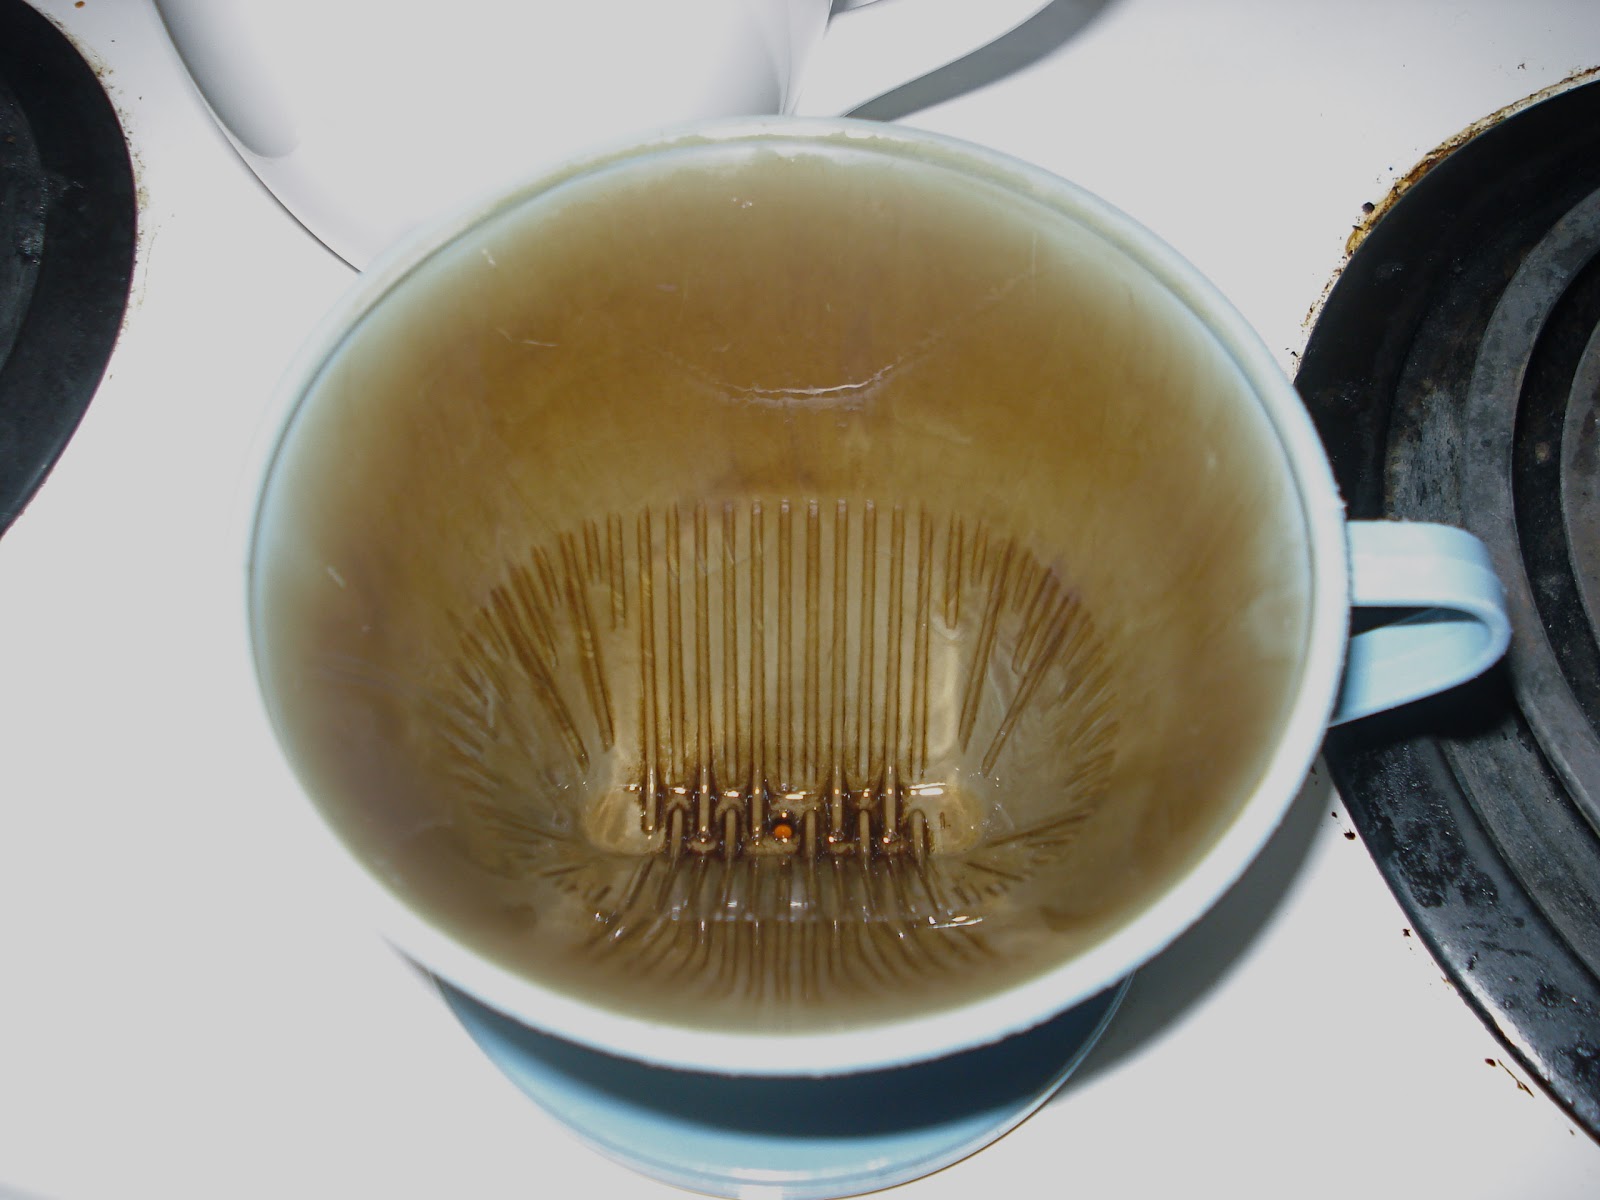
It's called a filter holder, and is one of the simplest ways of making coffee:  you put that on the top of your mug, add a paper cone filter, coffee, and pour boiling water into it, until your mug is full.

 My sister bought it for me, simply because she thought it would come in handy for a university student, and it was much cheaper than a "normal" coffee maker.  As you can see from the staining, it has received a lot of use, because I think it makes a truly excellent cup of coffee.  It's made to fit a #2 sized cone filter, but I use #4, solely because they are about 1/2 the cost of the #2 filters.  And yes, I do know that I should be using a reusable filter, but I do not like the sludge they leave.  Same issue with French press makers (e.g. Bodum).  I did have a Bodum I used quite often for large amounts, since this method makes only one cup at a time, until it broke.  I also have the usual coffee maker, that I tend to only use when I need to make a full pot of coffee.  (What, doesn't everyone have three different ways of making coffee in their house??)

To boil the water, I used this:

Now, 2-3 cups of coffee in the morning, generally a cup of herbal tea or hot chocolate after work (in the cold weather), and another of the same before bed, means I am using the kettle 3-5 times every day, and the filter holder 2-3 times a day.

And they are both plastic.

So these items were very high on my list to replace for this challenge.

First, the kettle.  As much as I LOVE this one, I cannot bring myself to pay that much for a kettle.  This one caught my eye (glass, cheap), until this happened:


That mug shattered in less than a second after being filled with hot water.  It was bad enough having a cup of hot water all over - I do NOT want to ever deal with a kettle full!  So, I decided on stainless steel.

I realized when I stared this challenge that the two main obstacles would be price, and country of manufacture.  What I didn't realize is how hard it would be to determine the country!  I do a lot of "shopping" on line - not necessarily buying anything, but it is invaluable to do research into the products, before you buy.  However... take that Le Creuset kettle up there.   Le Creuset makes all their products in France.  Fantastic.  Until you realize they don't - the kettle is made in Asia*.  I did find a Canadian company that makes stainless steel kettles (assuming I want to pay ~$70 for one), except they also state they import products, and are not clear on which they make, and which they import.  So if I am going to end up with an imported kettle, then I will take the simplest and cheapest route, and go to my local store to buy one, instead of paying much more (plus shipping!) on line.

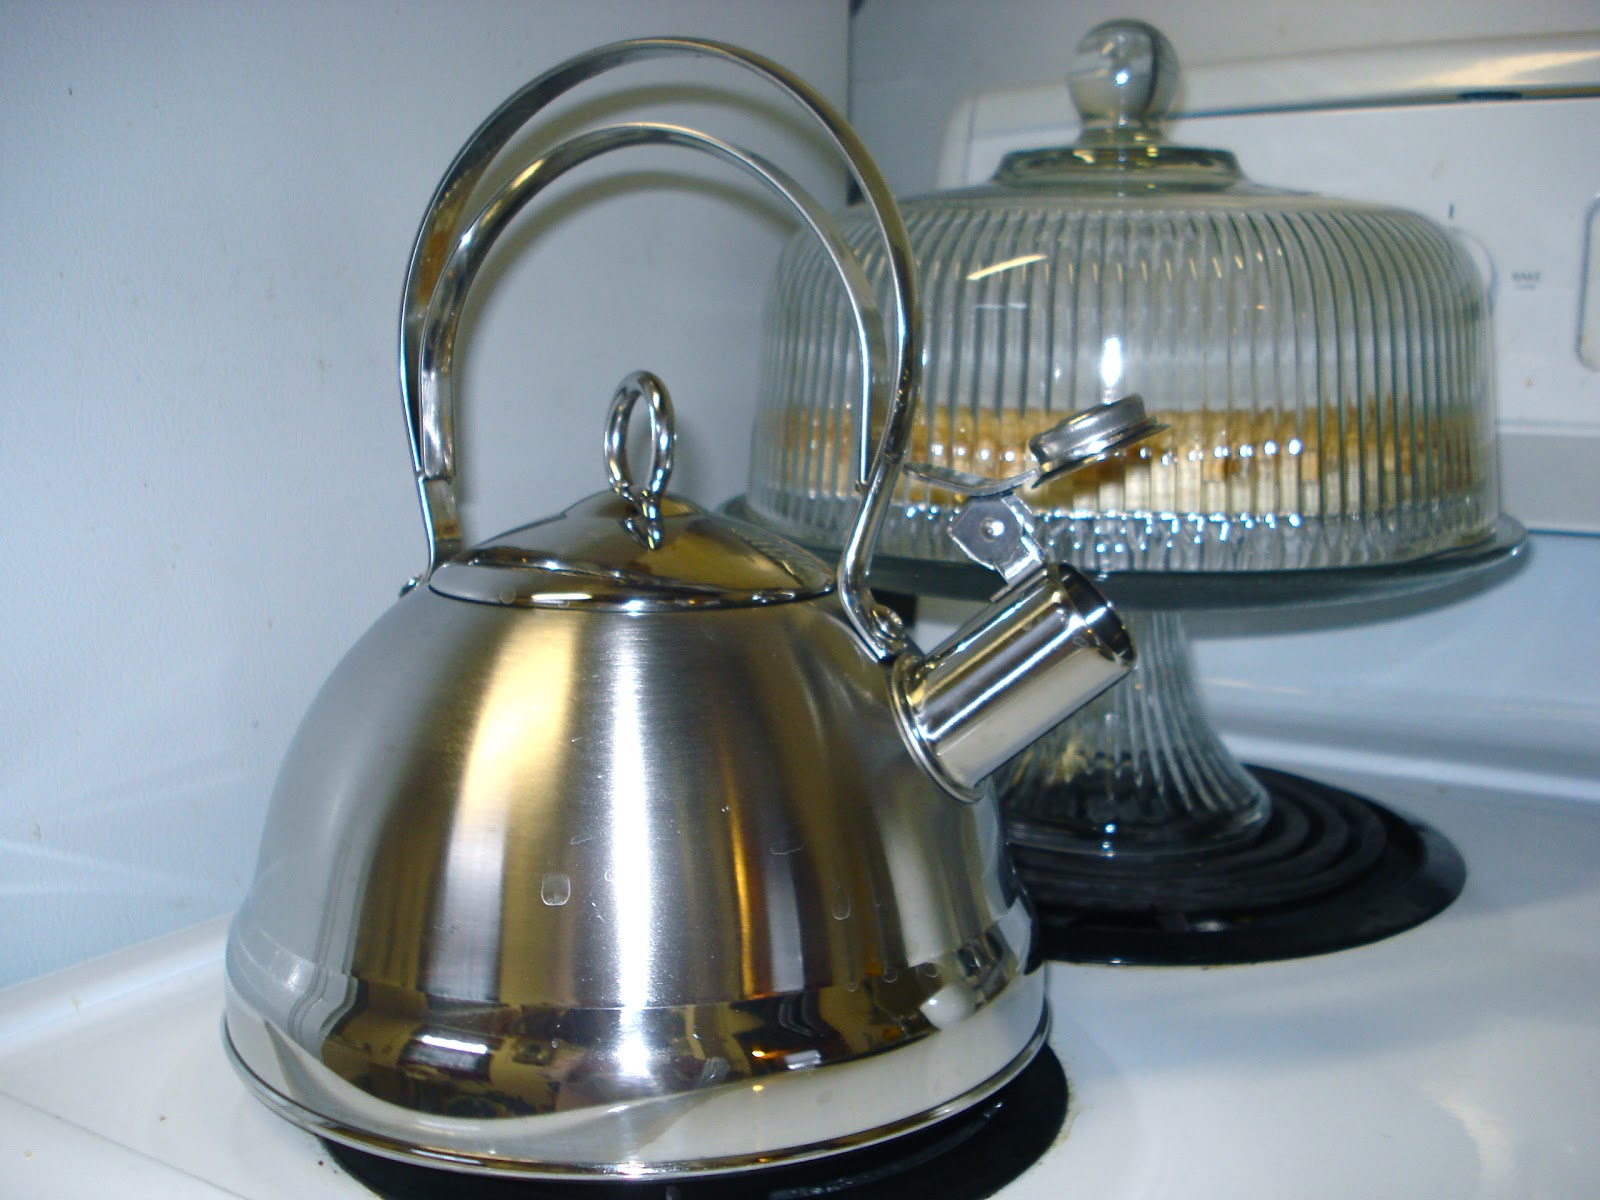
Hence, my new "Betty Crocker" kettle:

FYI, I looked at some on-line reviews, and they all said the handle gets hot and the whistle is pitiful.  Neither issue is true with this kettle, so I assume the manufacturer made some changes.
 
And yes, that is pie in the background - apple pie.  And yes, it is good :)

As for the filter holder, I found a FANTASTIC retailer in Toronto:  Green Beanery.  (Again, to make it clear, I have received no consideration for the Green Beanery, financial or otherwise.)  All profits from the Green Beanery go to their charity, and they also supply organic and free trade coffees.  Perfect!  (I have not looked into this charity, but will if I decide to buy my coffee from them in the future).

This is a #4-sized filter holder, made from porcelain, and made in, as far as I can determine, Germany. 


It fits much better on my mugs (and really, who wants their morning to start off with coffee grounds all over their kitchen, which has happened on more than one occasion!), and fits the #4 filter perfectly - which means I can even make enough for my large thermos in one go!
Put the holder on the mug, put a filter in the holder:
 Add freshly ground, free trade, organic coffee:
Fill with hot water:
 Watch as it slowly filters through:
And enjoy a perfect cup of coffee!  (and of course, put the filter and grounds in your compost!)
Costs:

Kettle: $34.98 + $4.55 tax  = $39.53
Filter holder: $18.99 + $5.50 shipping + $3.18 tax = $27.67  (I bought some coffee at the same time, and averaged the shipping costs)

Total: $67.20
Balance: $393.26
 
 _____________________________________________________
*This isn't the post to get into the discussion of overseas manufacturing, and why it's okay to buy something made in France (or Germany), but not okay to buy something made in Asia.  It's is a truly complex discussion, and I still grapple with this, but my two biggest concerns are food (and worker) safety and human rights issues.

How high is too high?

So, I got home from work yesterday, and painted the bathroom....

What?

Yeah.  You might have seen the unpainted corner in previous pictures.  I left it unpainted, because that's where the shower stall is going. 
Apparently, one needs to prime before attaching the wall panels.  Who knew? 

And yes, it would have been so much easier to prime that area when I was priming the rest of the bathroom (grumble, grumble grumble).  So let this be a lesson to you - always prime behind your shower :)

 
 Look!  Primed walls!! (grumble, grumble grumble)

And I had one of those special moments in the hardware store yesterday...

I needed to buy adhesive to attach the shower panels to the wall.  My first mistake was asking for help, instead of trying to find it myself.  I told the dude I was installing a shower stall, and needed adhesive for the wall panels.

"You mean a tub surround"

No, there is no tub.  It's just a shower stall, 2 walls plus a corner.

"So, a tub surround"

  Sure, let's go with that.

"How much do you need?"

Well, it's just two walls and a corner...

(With a very concerned look on his face, and in a very soft tone of voice) "Most tub surrounds are three walls..."

I'll take two, and return the second if I don't need it.

Back at the house... fixtures!  Mind you, they aren't actually hooked up yet, but still!!!


 There is that "bad" part of the flooring - the last area I tiled, where they didn't match up exactly right.  I'm glad it's behind the toilet, and really isn't that obvious :)


 And note about the bead-board.  Most "experts" say the panelling should be 1/3 or 2/3 the height of the wall, and never half.  The upstairs room are all around 93", so 1/3 would be around 31", 2/3 around 62", and 1/2 around 46".  I think 2/3 is too high, but 1/3 wouldn't work at all - I wanted the bead-board to be higher than the sink...


... but didn't want the outlet (and light switch on the other wall) to get in the way.  So, it had to be higher than the sink, and higher than the outlets... which put it right to the centre seam of the drywall.  If it was higher than that seam, then I wouldn't have to do that seam...


So, I had Dad cut the panels in half (to 4'), and mounted them at 50.5" high (the baseboard will hide the gap at the bottom).  Once the trim at the top is on, the entire height should be around 52" - not 1/3, not 1/2, not 2/3, but a height that works for the room, and for me :)

I'm in love... with Mr. Clean

I washed the bathroom floor tonight*, and fell in love with Mr. Clean - well, actually the Mr. Clean Magic Eraser.  Since I pretty much suck at tiling, there was a noticeable grout haze left on some areas of the bathroom floor.  It's been in the back of my mind that I needed to find some way to fix this, but the floor has been covered with drop cloths since then (drywall seams, painting, etc.), so it was on my "One Day" list.

Well, today I did needed to clean up the floor where the sink and toilet are going (!!!), and realized today was the day.  

Also floating around in my mind was the fact that somewhere under the kitchen sink, there was an un-used Magic Eraser.

Being the scientific type, I decided to experiment...

 Before
 After
 Before
 After

It worked like... um... magic.  Really.  With almost no effort, the haze is GONE!  I love it when a plan comes together!  Of course, I killed the Magic Eraser:
Rest in Piece Peace, my friend! 

Oddly enough, I'm not the first person to realize this works well :)  And just to make it clear, I received no considerations, financial or otherwise, from the makers of Mr. Clean, or any other product I complain about review in this blog.  If I ever do, after I finish screaming, I'll be sure to mention it!

And in other news:  HEY!!  LOOK!!!  It's bead board!  And plumbing!!!


_______________________________________________
*Do you know how long it's been since I washed a floor?  Okay, I have mopped the floors in this house every so often, but "renovation" and "clean floor" don't really go together, especially when all the floors are eventually being replaced...

LinkWithin

Related Posts Plugin for WordPress, Blogger...